
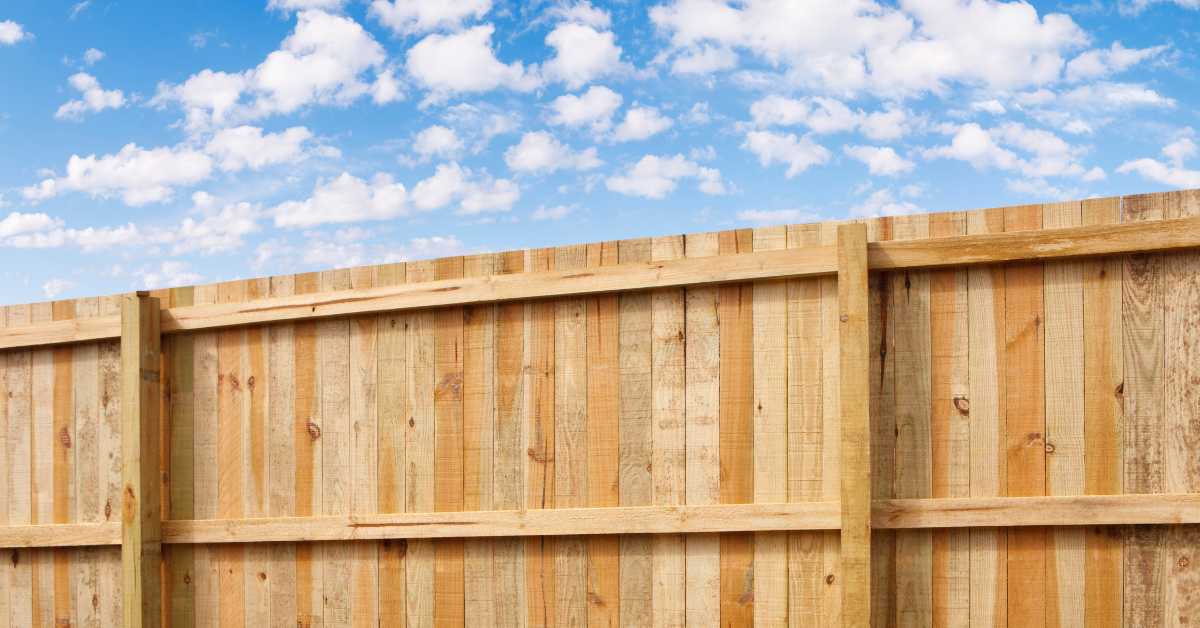
Many homeowners choose timber fences for their homes because the natural look and feel of the timber can complement any landscape. Timber is also a reliable material that is long-lasting and can be painted, stained, or treated to match any desired look. Additionally, timber fences provide excellent security and privacy, allowing homeowners to feel safe and comfortable in their own homes.
At Gympie Fencing, we take immense pride in our craftsmanship, as well as in our commitment to our customers! We like to help out in any way we can, and one of the ways we do that is by offering helpful advice and articles to homeowners to help them keep improving their homes.
How to Paint or Stain Your Timber Fence
If you have a timber fence, you might be wondering how to give it a fresh coat of paint or stain. Whether you’re looking to protect your fence from the elements or simply want to give it a new look, the process of painting or staining a timber fence is relatively simple. Here’s a step-by-step guide on how to get the job done:
Prep the Area
Before you start painting or staining, it’s important to prep the area. This means removing any debris or dirt from the fence and ensuring that the surface is smooth and free from blemishes. You might need to sand down the timber or fill in any cracks or gaps with Timbermate.
Clean the Fence
Once the area is prepped, it’s time to clean the fence. Use a pressure washer to remove any dirt, grime, or cobwebs from the timber. If you don’t have a pressure washer, you can use a garden hose and a scrub brush to get the job done.
Repair Any Damage
If your fence has any damage, such as rot or splintered timber, you’ll need to repair it before you can paint or stain it. Use Timbermate or a timber patch to fill in any holes or gaps, and sand down the surface until it’s smooth.
Prime the Fence
Before you start painting or staining, it’s important to prime the timber. This helps the paint or stain to adhere to the timber and ensures a more even finish. You can use a brush, roller, or sprayer to apply the primer, depending on the size of your fence and your personal preference.
Choose Your Paint or Stain
There are many different types of paint and stain available, so it’s important to choose the one that’s right for your needs. If you’re looking to protect your fence from the elements, water-based or oil-based paint is a good choice. If you want to enhance the natural colour of the timber, a timber stain is a better option.
Apply the Paint or Stain
Once you’ve chosen your paint or stain, it’s time to apply it to the fence. Use a brush, roller, or sprayer to apply the paint or stain in even, overlapping strokes. Make sure to cover the entire surface of the timber, including the corners and edges.
Let the Paint or Stain Dry
After you’ve applied the paint or stain, it’s important to let it dry completely before you use the fence. This can take anywhere from a few hours to a few days, depending on the type of paint or stain you used and the weather conditions.
Apply a Second Coat
If you want a more durable fence finish, you can apply a second coat of paint or stain. Just make sure to let the first coat dry completely before applying the second one.
Painting or staining your timber fence is a great way to give your home a fresh look and add value to your property. But it’s even more important to get a high-quality fence installed and done right the first time to make sure that it lasts and won’t end up costing you more in the long run. That’s why for your timber and other fencing needs, choose Gympie Fencing. Call our fencing experts today to see how we can help!